Overview:
When you need to choose which data syncs from one application to another, you can enable the Sync Queue. When the Sync Queue is enabled, you will need to run two syncs to fully transfer data between applications. The first sync pulls all recently created or modified data into the Sync Queue, allowing the user to choose which data are approved to sync to the next application and which data are rejected. The second sync transfers the approved data to the next application.
Step 1:
Enable Sync Tool
Navigate to the 'Settings' tab in the SPRCHRGR API Sync Tool and mark the box to 'Enable Sync Queue'.
![]()
Step 2:
Run the Sync from the 'Sync Jobs' tab

Step 3:
Navigate to 'Sync Queue' Tab. Think of this queue as a net that catches all “sync-able” data before actually syncing it to the next application. You have the option to allow sync or reject sync for each item. Filter items as you wish (see additional details below) and choose green box with check mark to allow data to sync or choose red box and “X” to prevent the data from syncing. Once you have decided to allow or reject each item, move to Step 4.

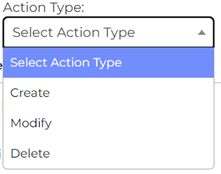
These filter options allow you to filter what shows on the 'Sync Queue' page so you can decide what to sync.

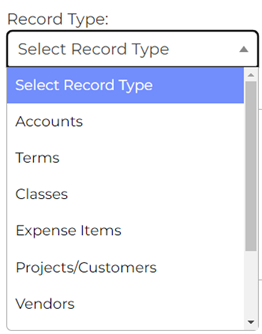
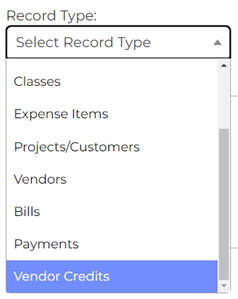
Action Types:

Response Types:
Rejected data are considered temporarily rejected. The idea is to allow users to “reject” a questionable item for now, investigate as necessary, and come back to this screen, change response type to “allow”, and sync to the other application. If the user finds the data should be permanently rejected, simply leave it in the “reject” status, and eventually the item will fall off the sync queue.
Step 4:
Navigate to the 'Sync Jobs' tab and 'Run Sync'. This will move data to the next software application and clear the sync queue of all approved items.
